Saturday, July 13, 2019

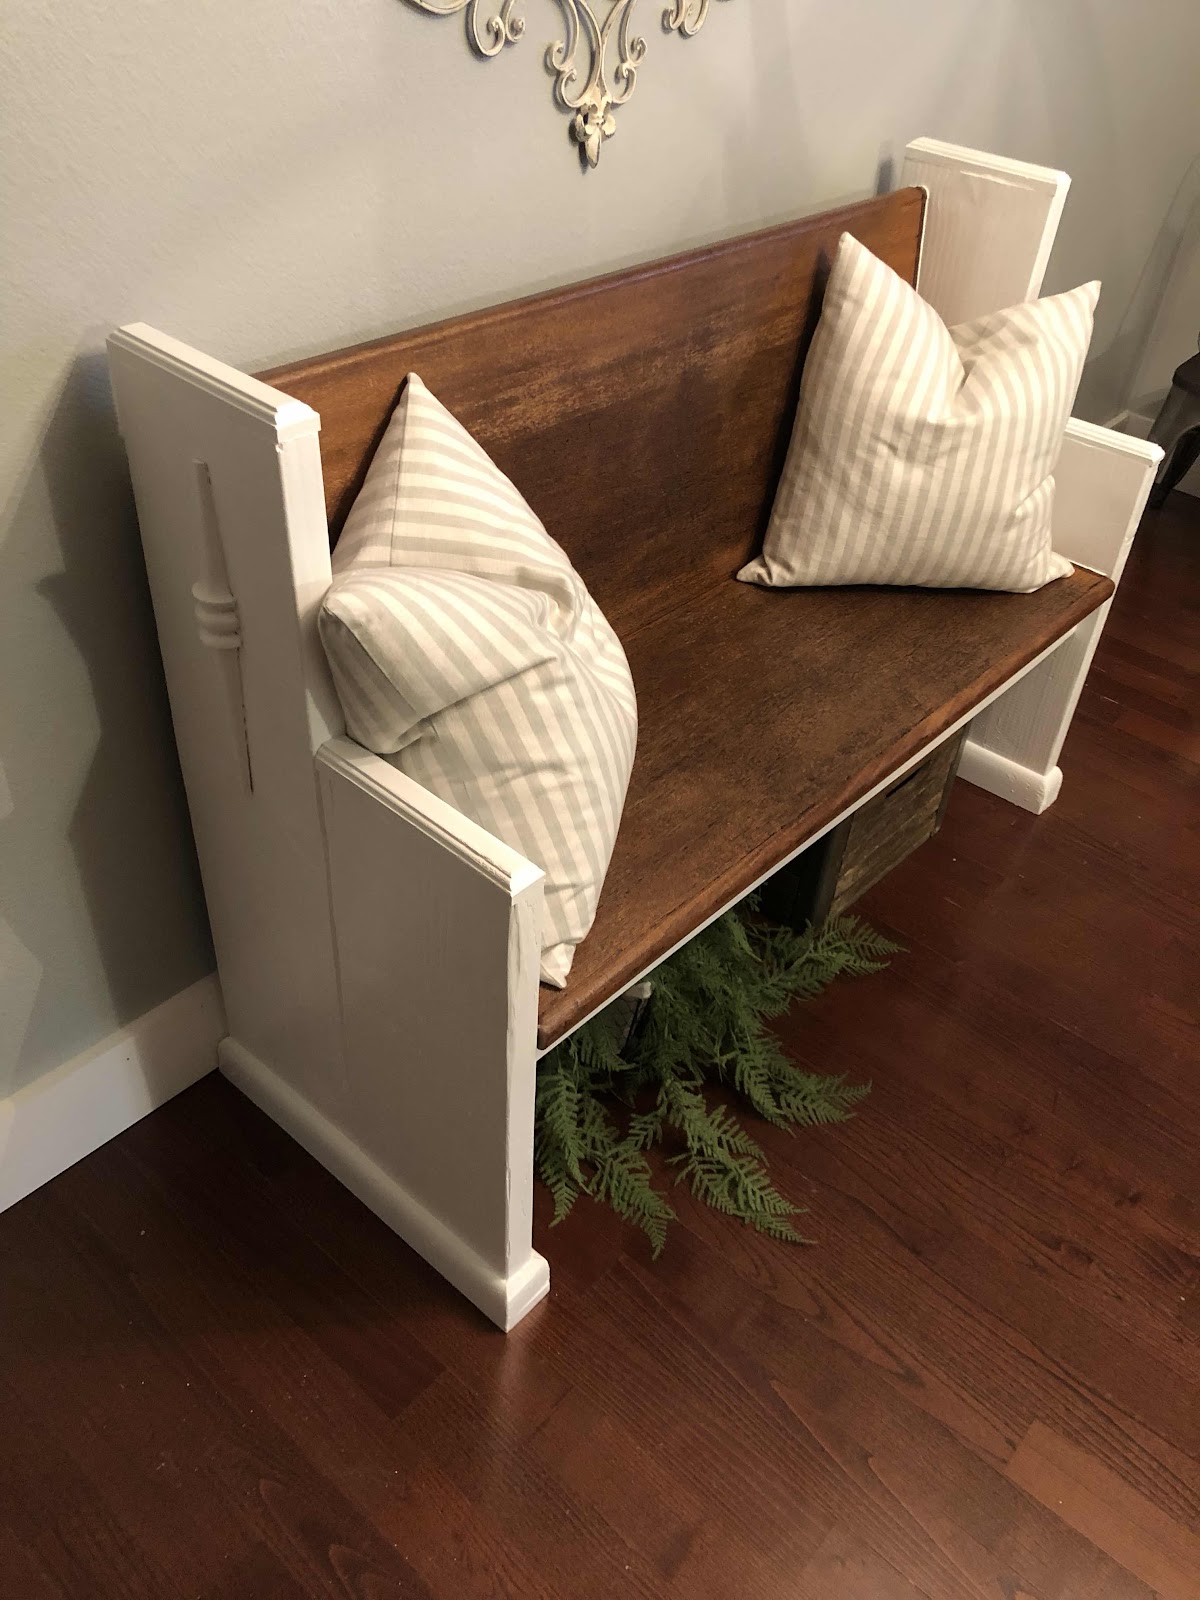
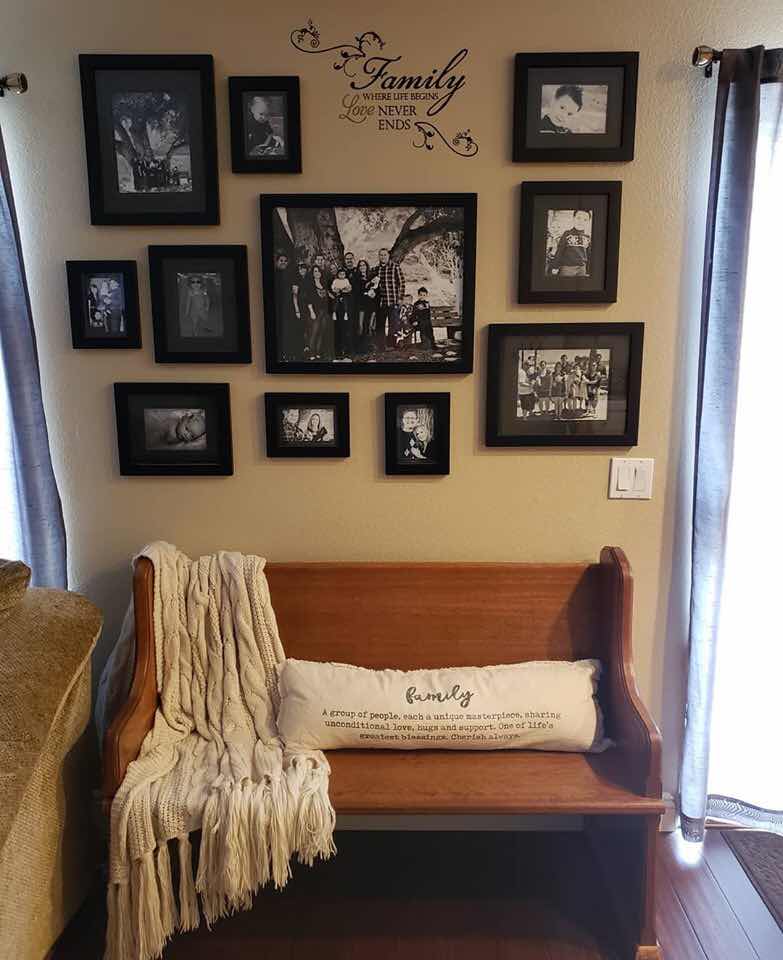
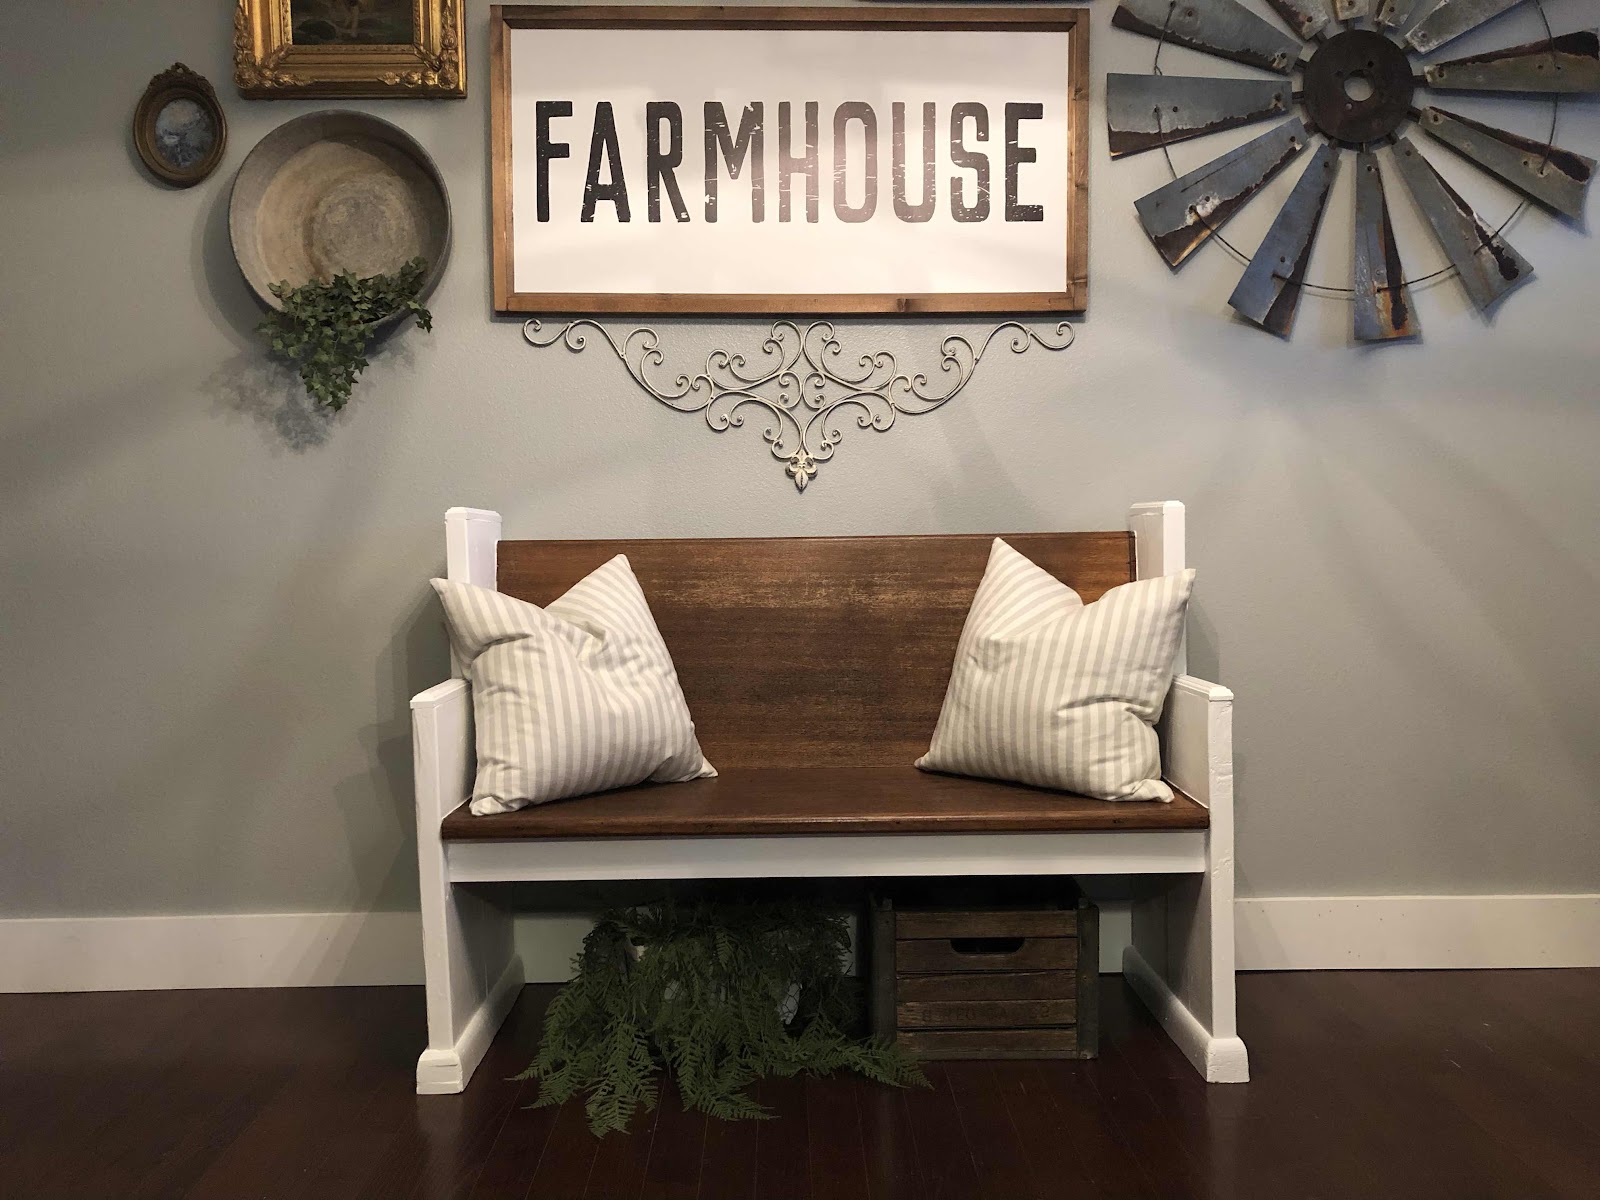
What’s better than one church pew?

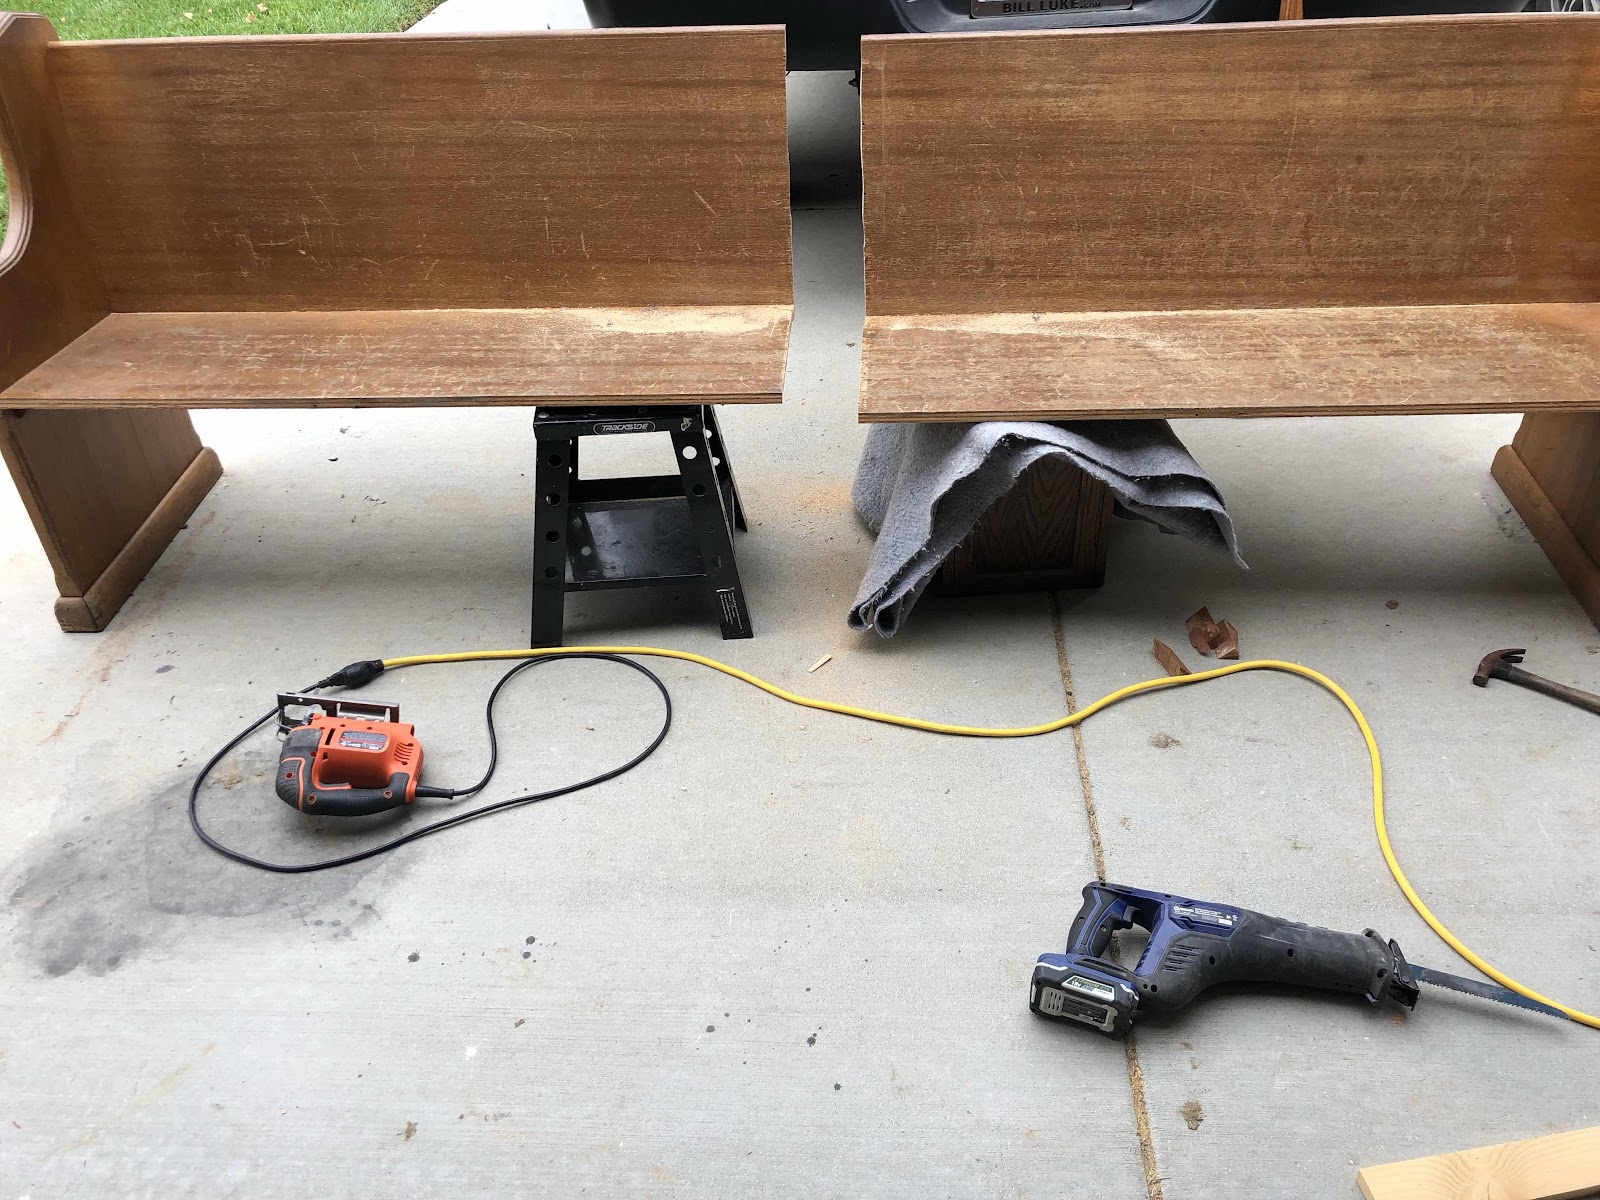
Two church pews!!!!! I picked up 3 beautiful, eight foot church pews and they are so big that most people don’t want, or have room for something that big. I decided to cut them in half! One of the pews I removed the side and put it on a half to creat a original pew that was half the size and for the other half, I made two simple sides from 2x10 lumber. Each one has its own charm and I just love them!! 


Wednesday, May 29, 2019

Crown molding to hide holes!

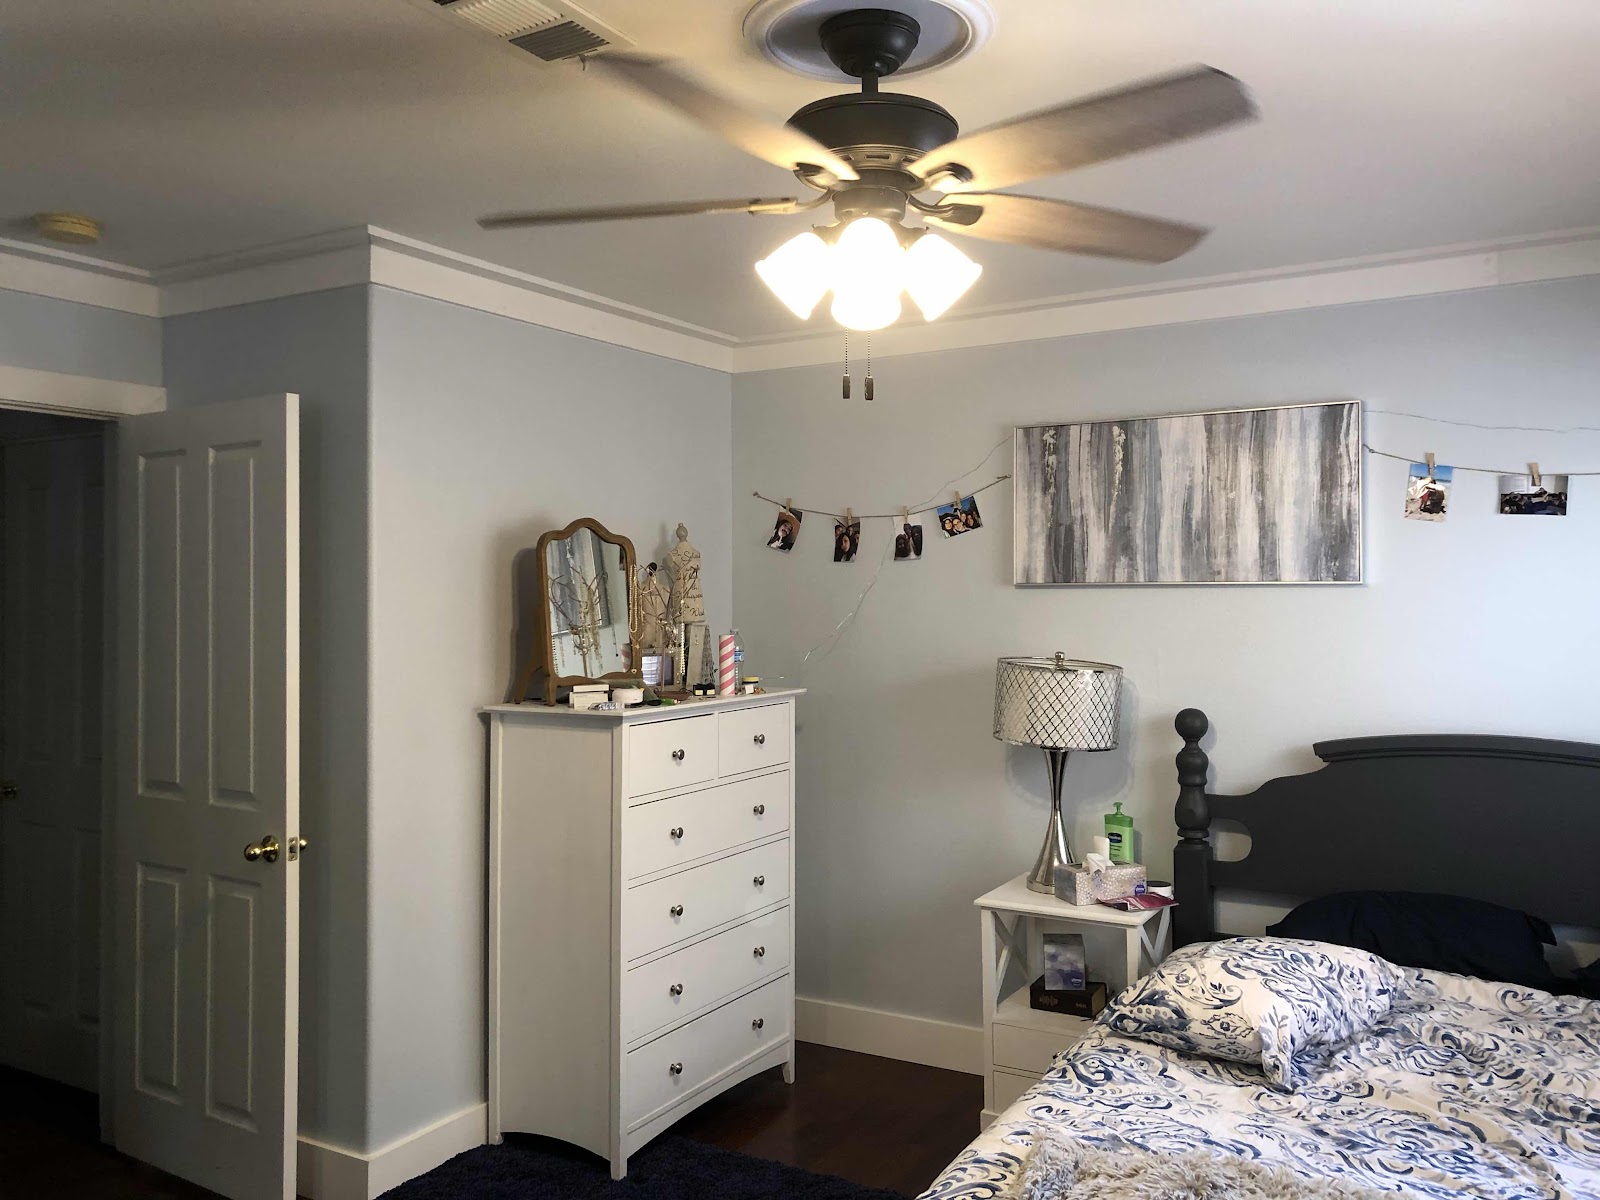
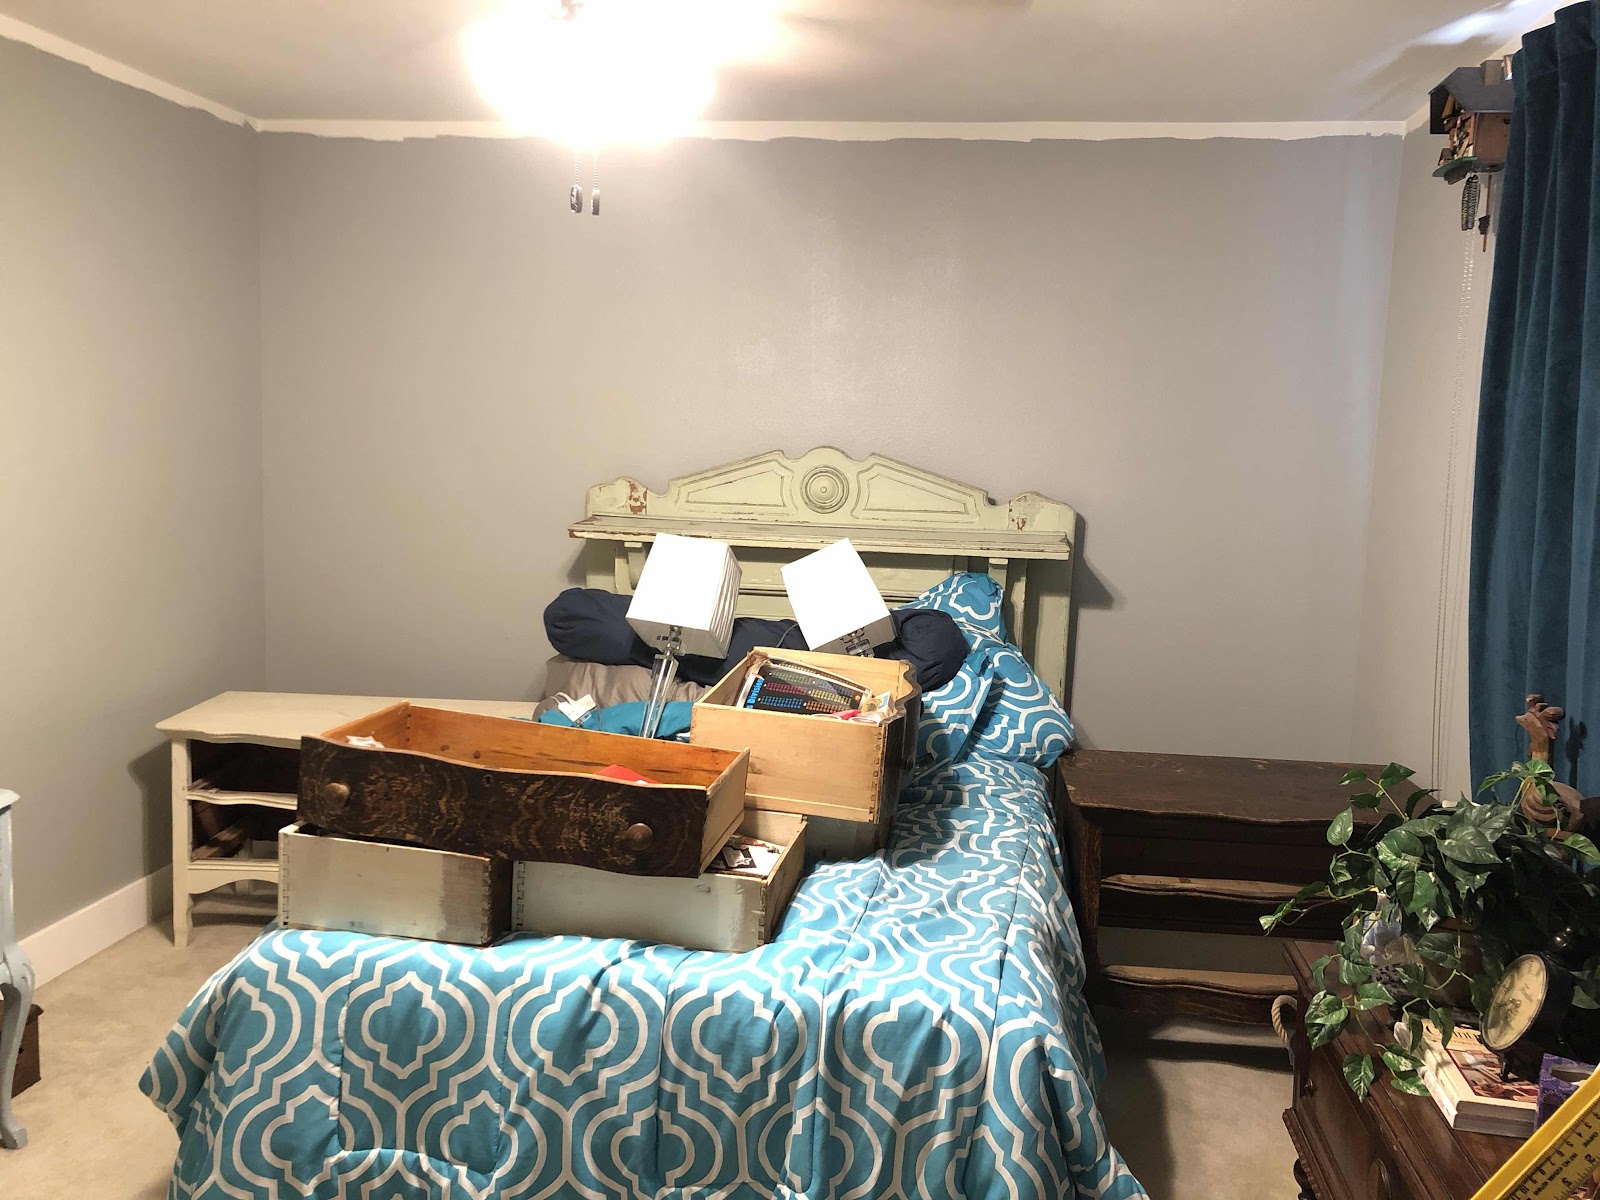
When we moved in almost a year ago, hard to believe it’s already been that long! There was virtually no overhead lighting! I’m a ceiling fan gal so we had a great electrician add ceiling fans. Well in the downstairs bedroom it wasn’t pretty! Since we are in a two story he had to cut holes in the walls and ceilings to find a place to pull electrical from. The before picture shows the cuts that our oldest has had to stare at for a long time. I finally got around to doing farmhouse crown molding in her room! It looks really good!!
 All I did was took 3.5” basic flat trim and added it to the ceiling first, then put another of the same molding flat on the wall. Love the simple beautiful of it! 


Friday, May 17, 2019

AC unit covers

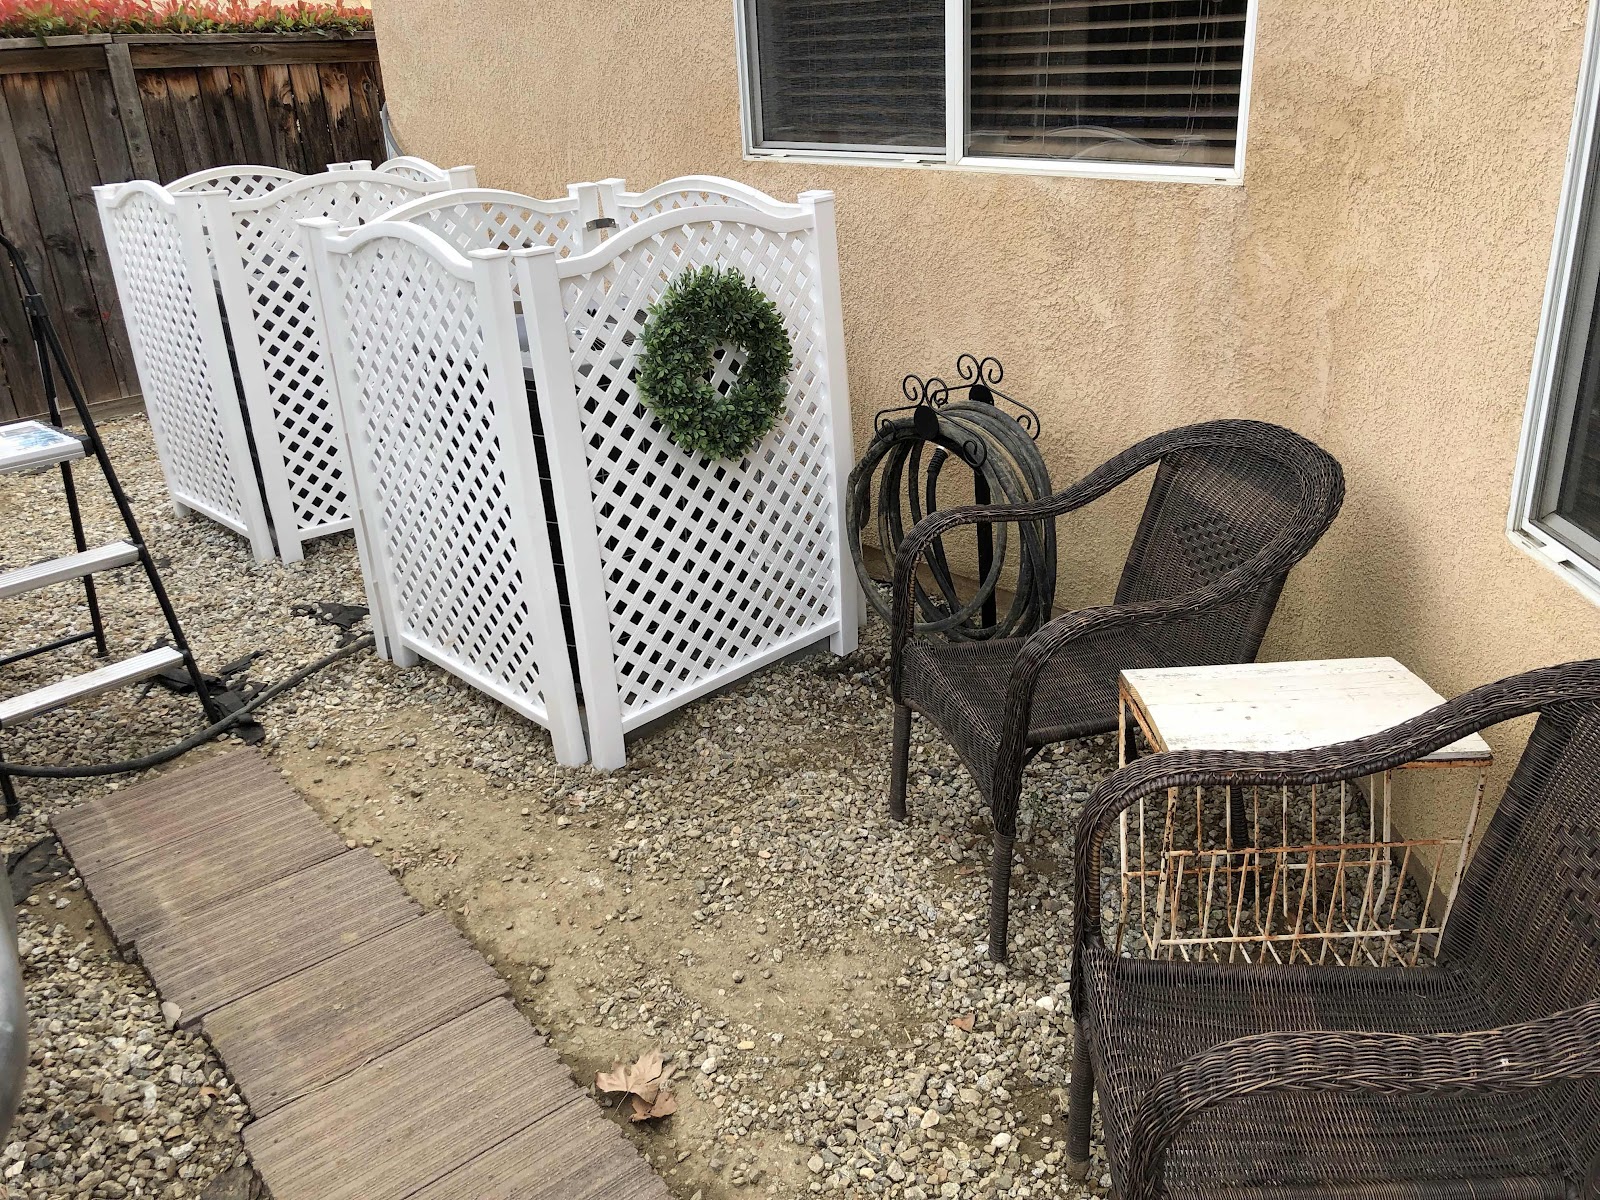
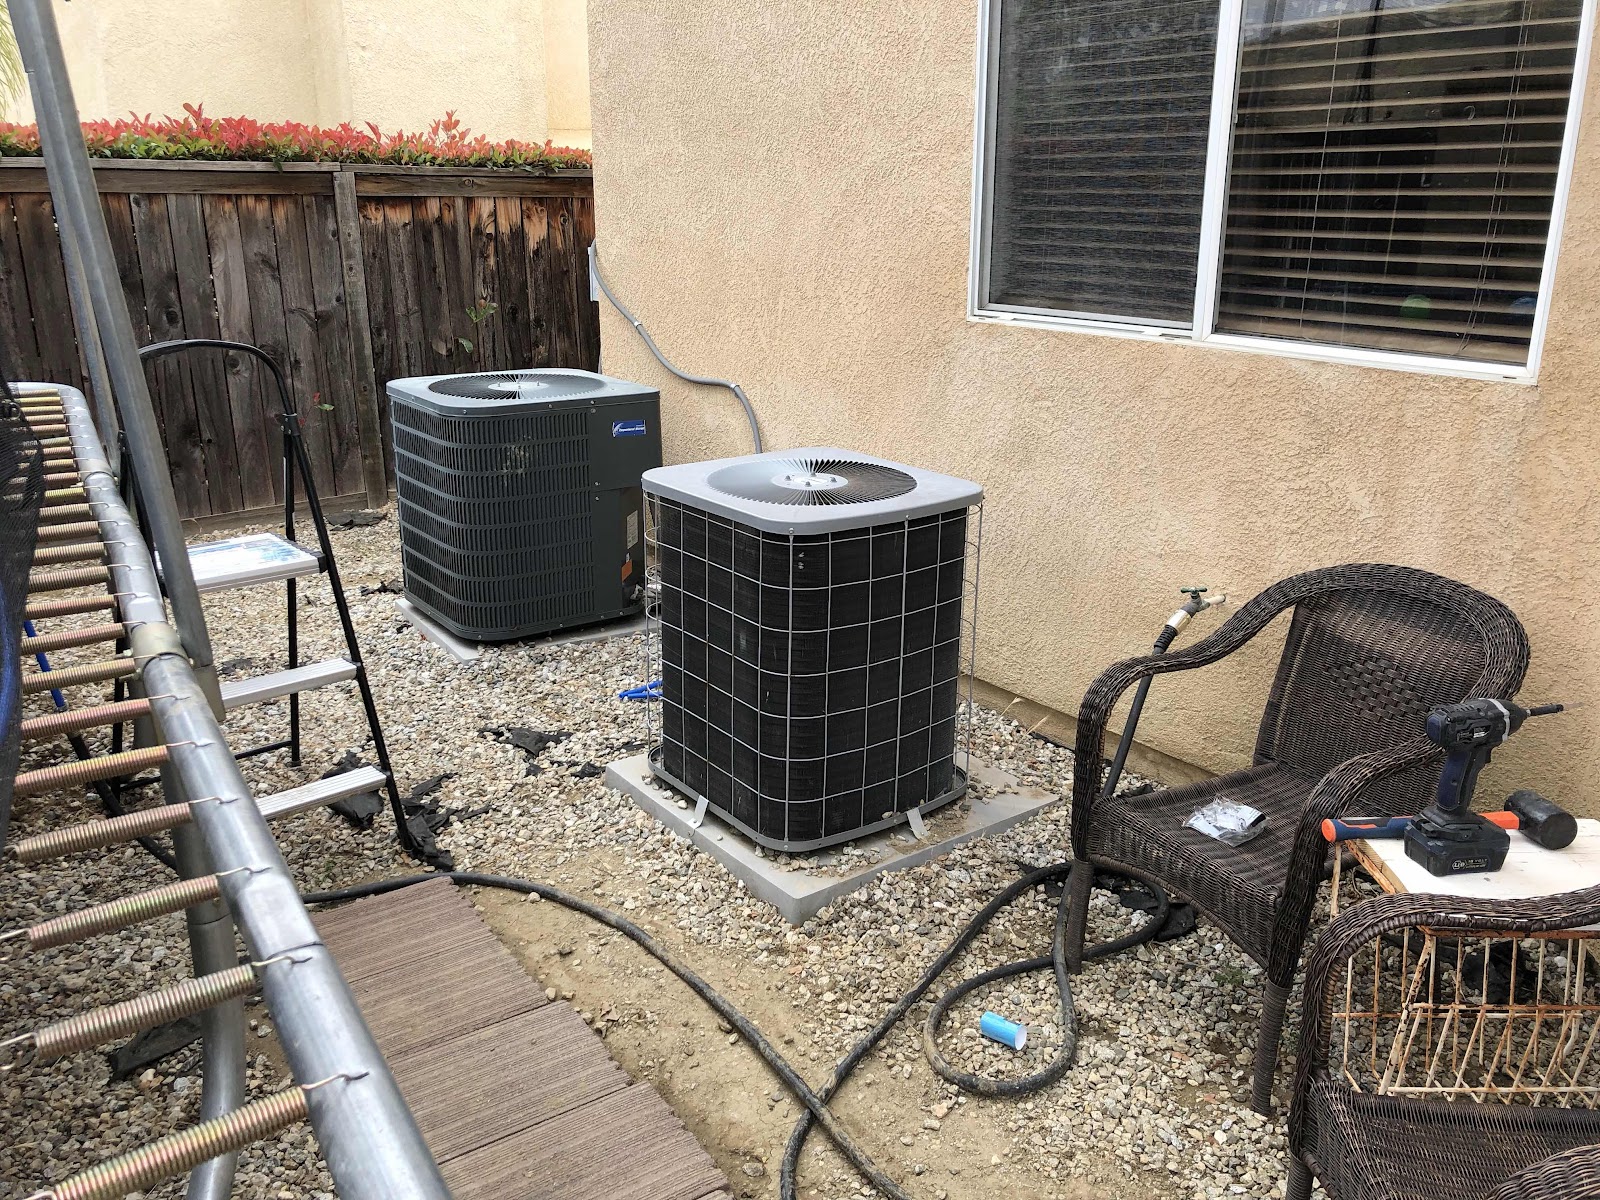
These AC unit covers aren’t a new thing, but they are such a great idea! We have two AC units and it was double the ugly! We don’t have thousands of dollars to move them to the side of the house, and even if we did, there’s not enough space!! We have a tiny yard and an even smaller side yard! Anyway I got these lattice panels for a great deal. They weren’t hard to put up and didn’t take much time. I love how they look and they hide the units pretty well. I had to put a wreath up lol! 


Monday, May 13, 2019

Slider gets an update!

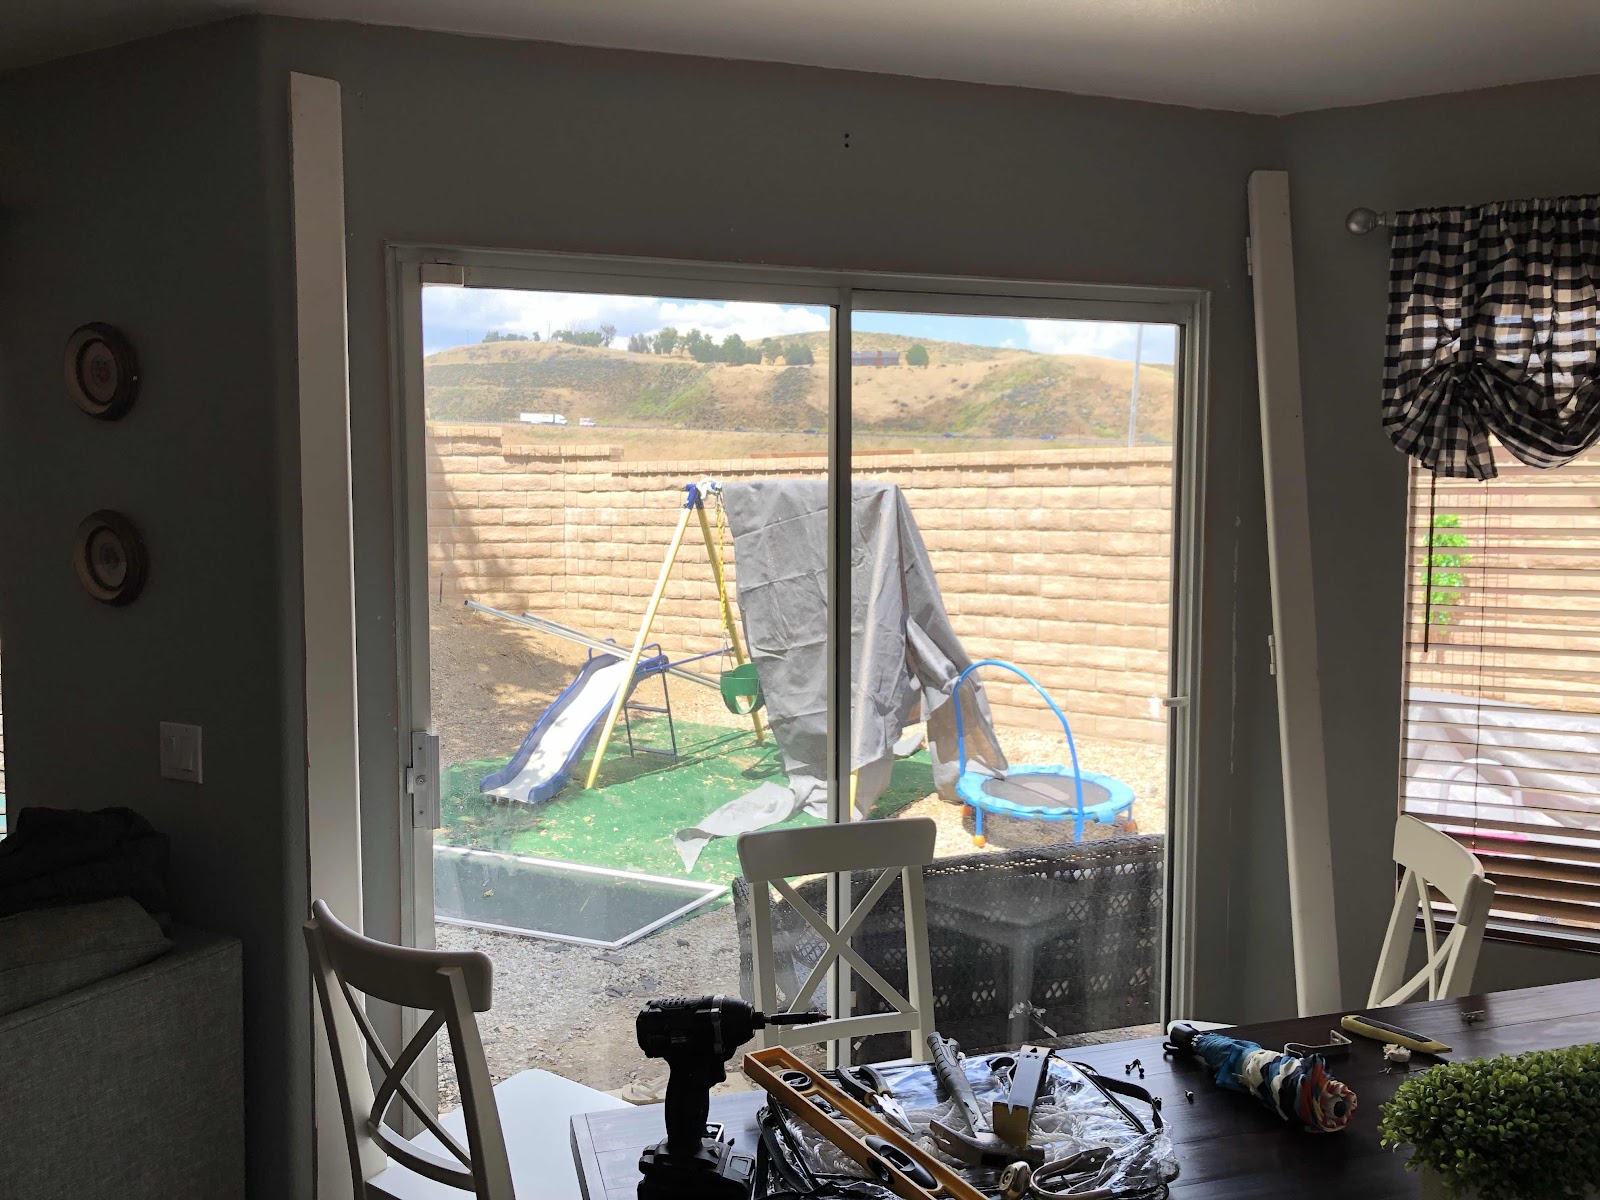
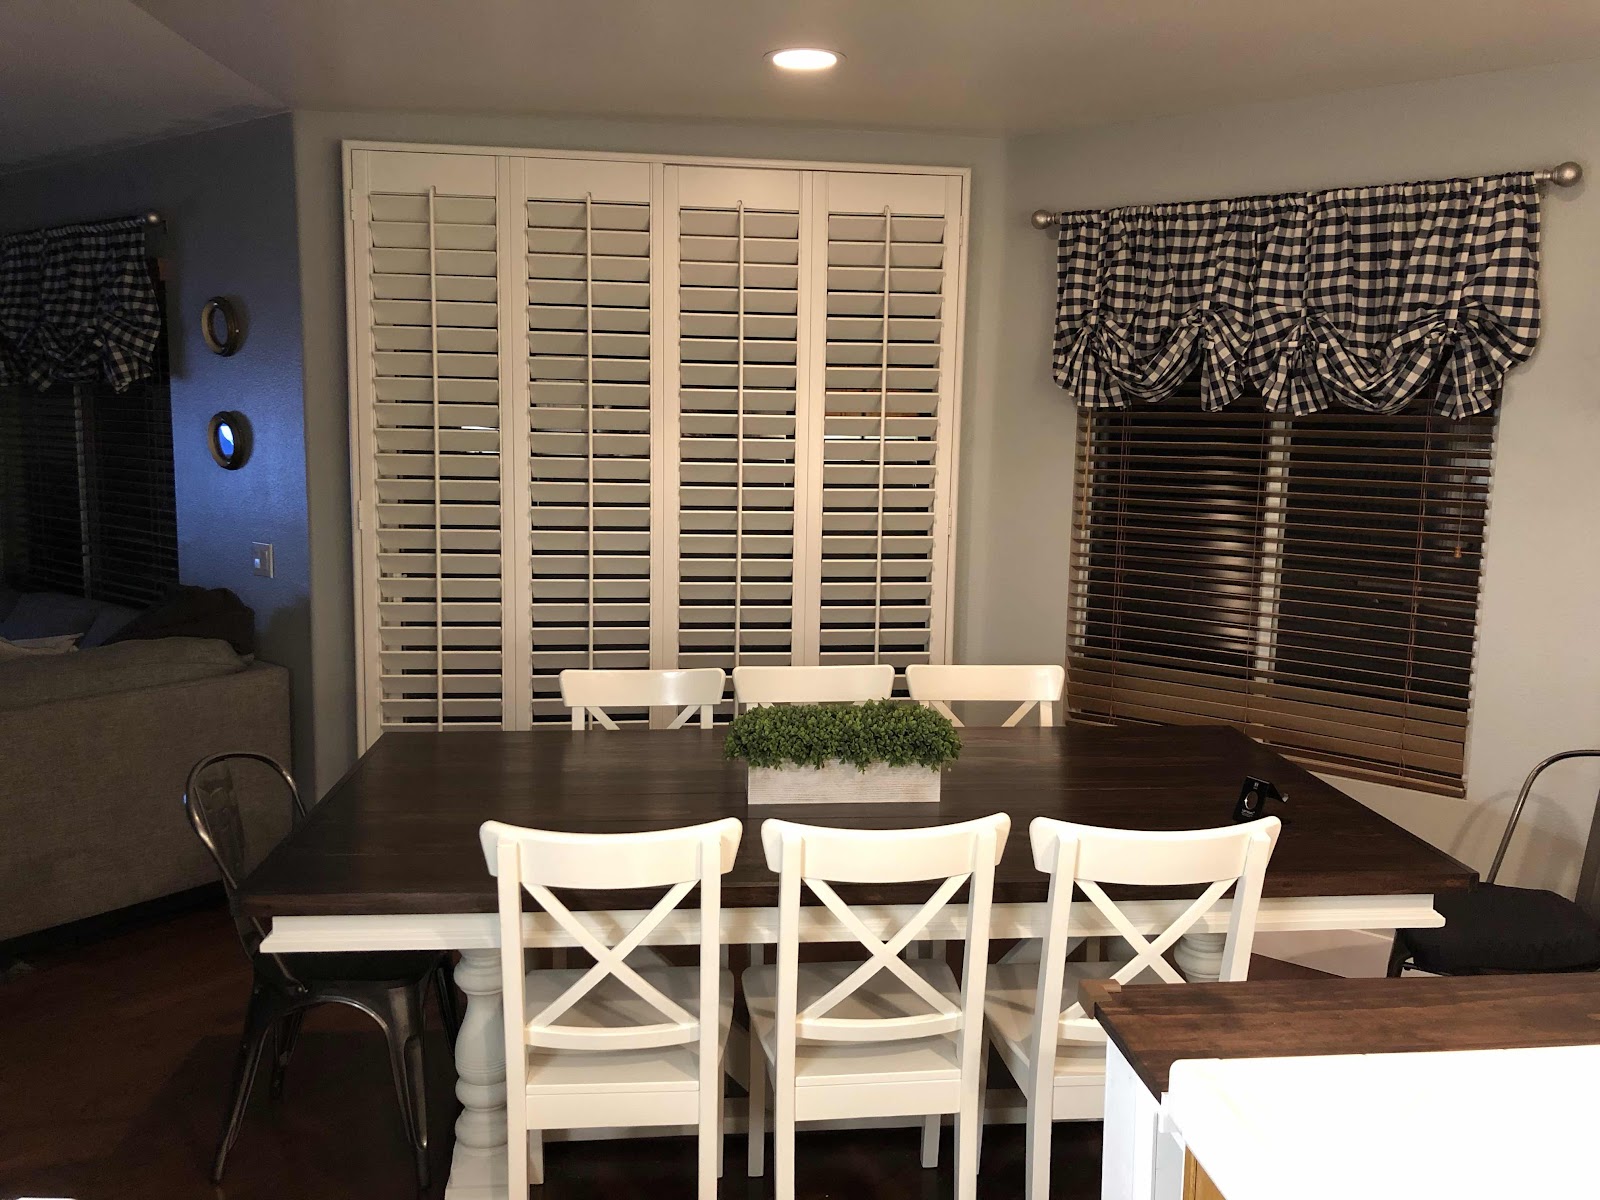
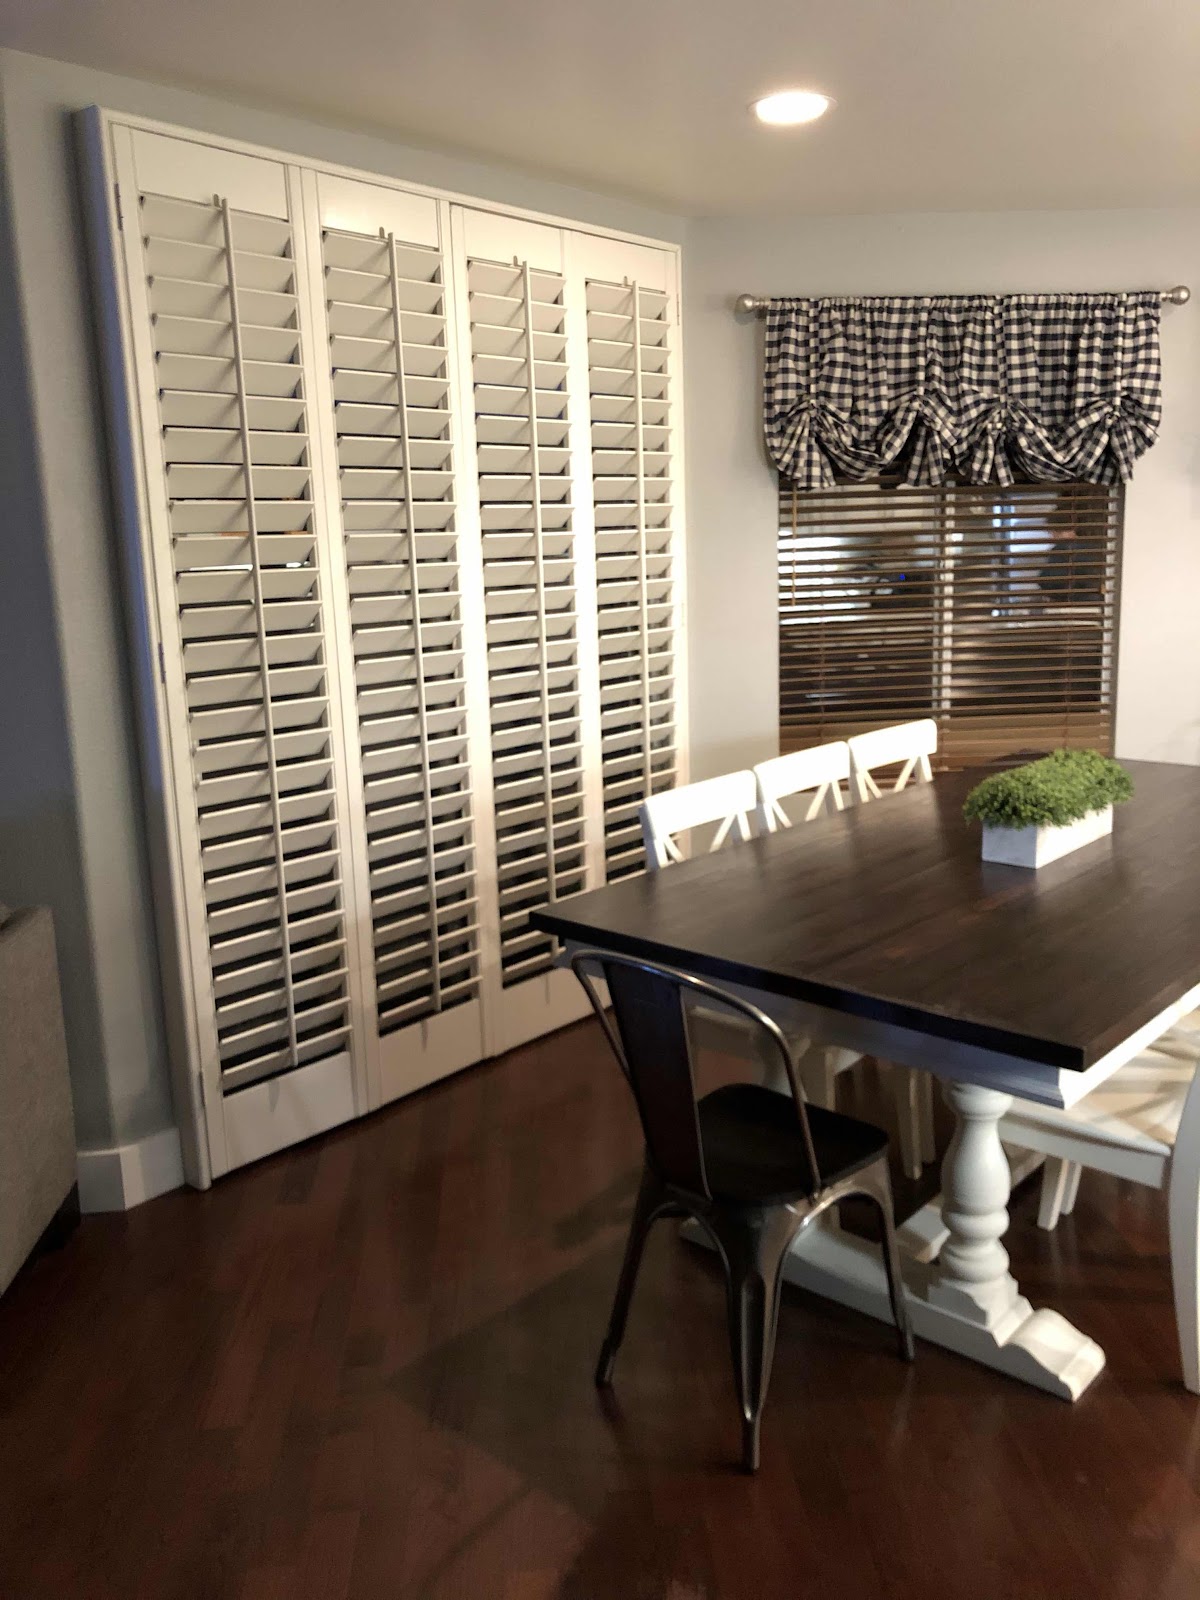
I’ve always dreamt of French doors, but the houses we buy always have sliding doors. They just lack beauty and character in my mind. I love things to be as beautiful as possible, so I made a spur of the moment purchase and called it a happy Mother’s Day to me! I bought some plantation shutters for sliding glass doors used from a lady not too far. They had higher ceilings, so these come almost up to the 8 feet that we have, but it makes the shutters that much more beautiful! I had put up trim molding before because there was nothing around the slider, so since I got the shutters, I knew I wanted the trim I added gone. I took that down, patched, painted, and prepped for the new shutters. I found the studs and added picked holes on the top molding piece of the shutters. I made sure it was level and screwed it up. Then I attached each side. Filled the holes and caulked and painted. Final step was screwing the door hinges back on and BAM! I was in LOVE!!! They are amazing and I can’t believe I got them for only $250!!!! Talk about a value add!!

Before 


After!


Ceiling correction

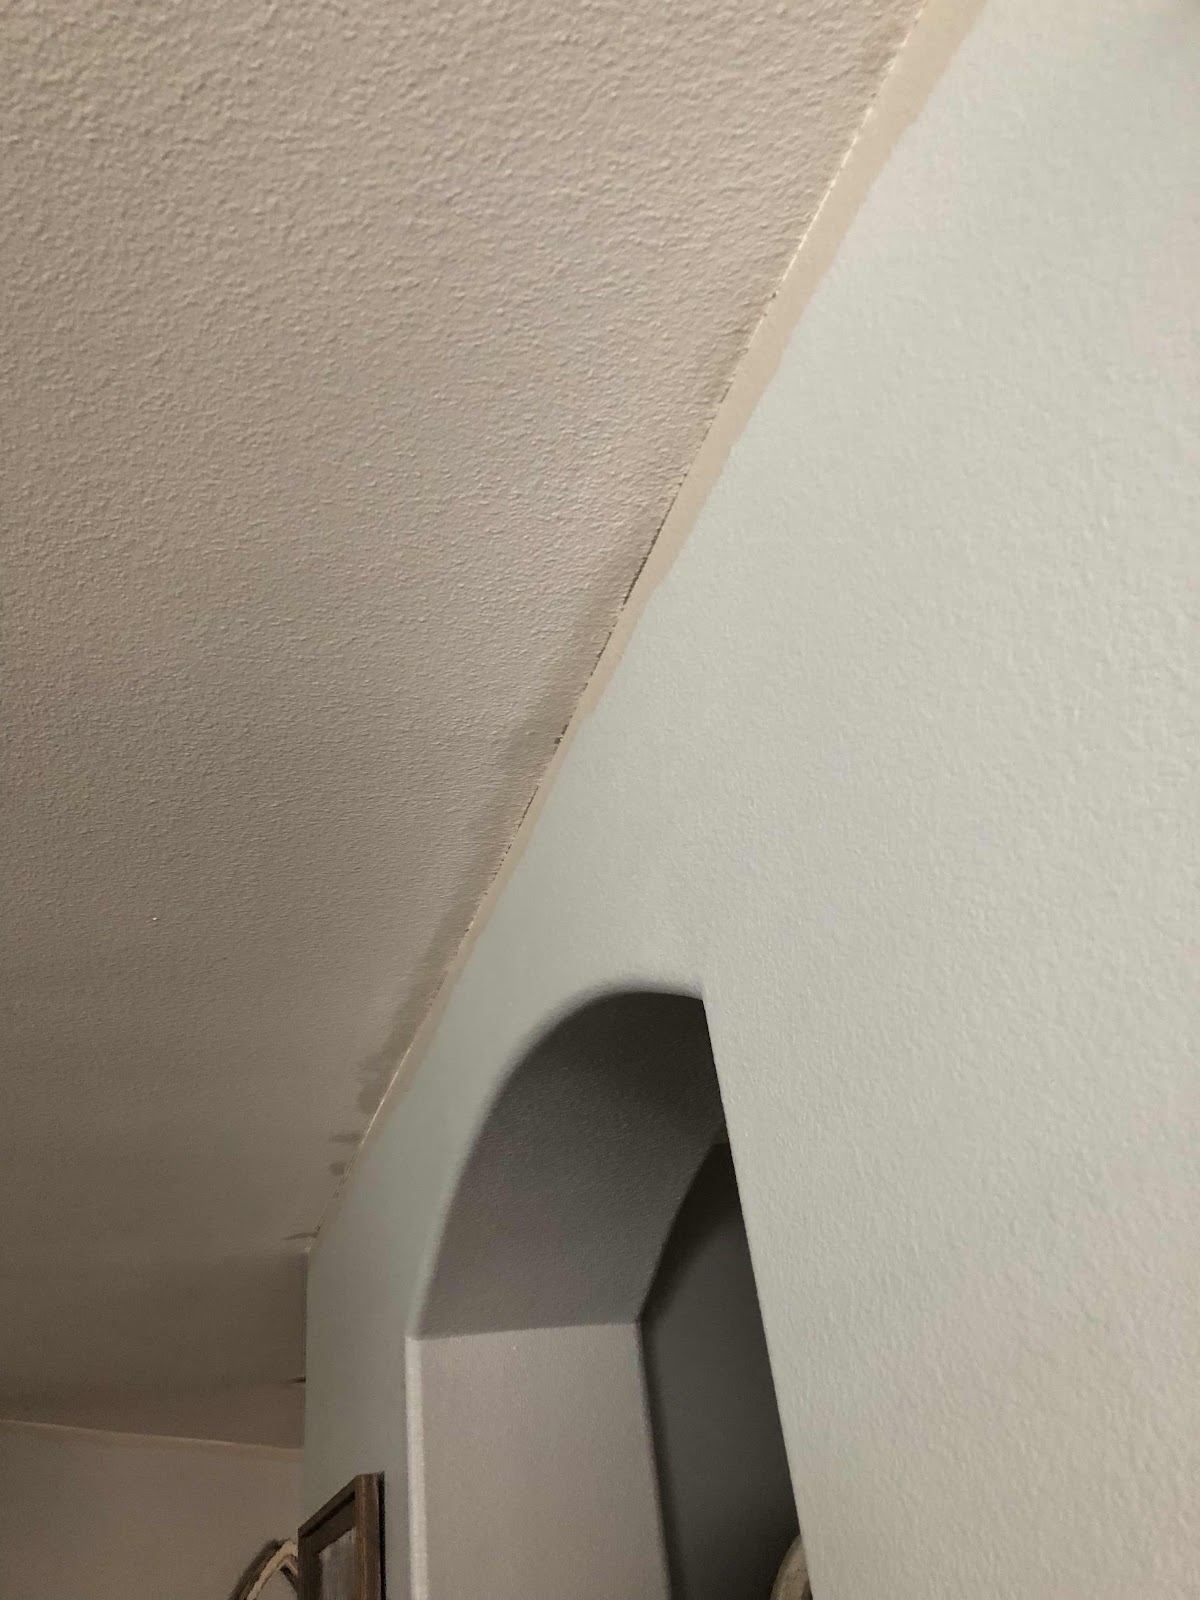
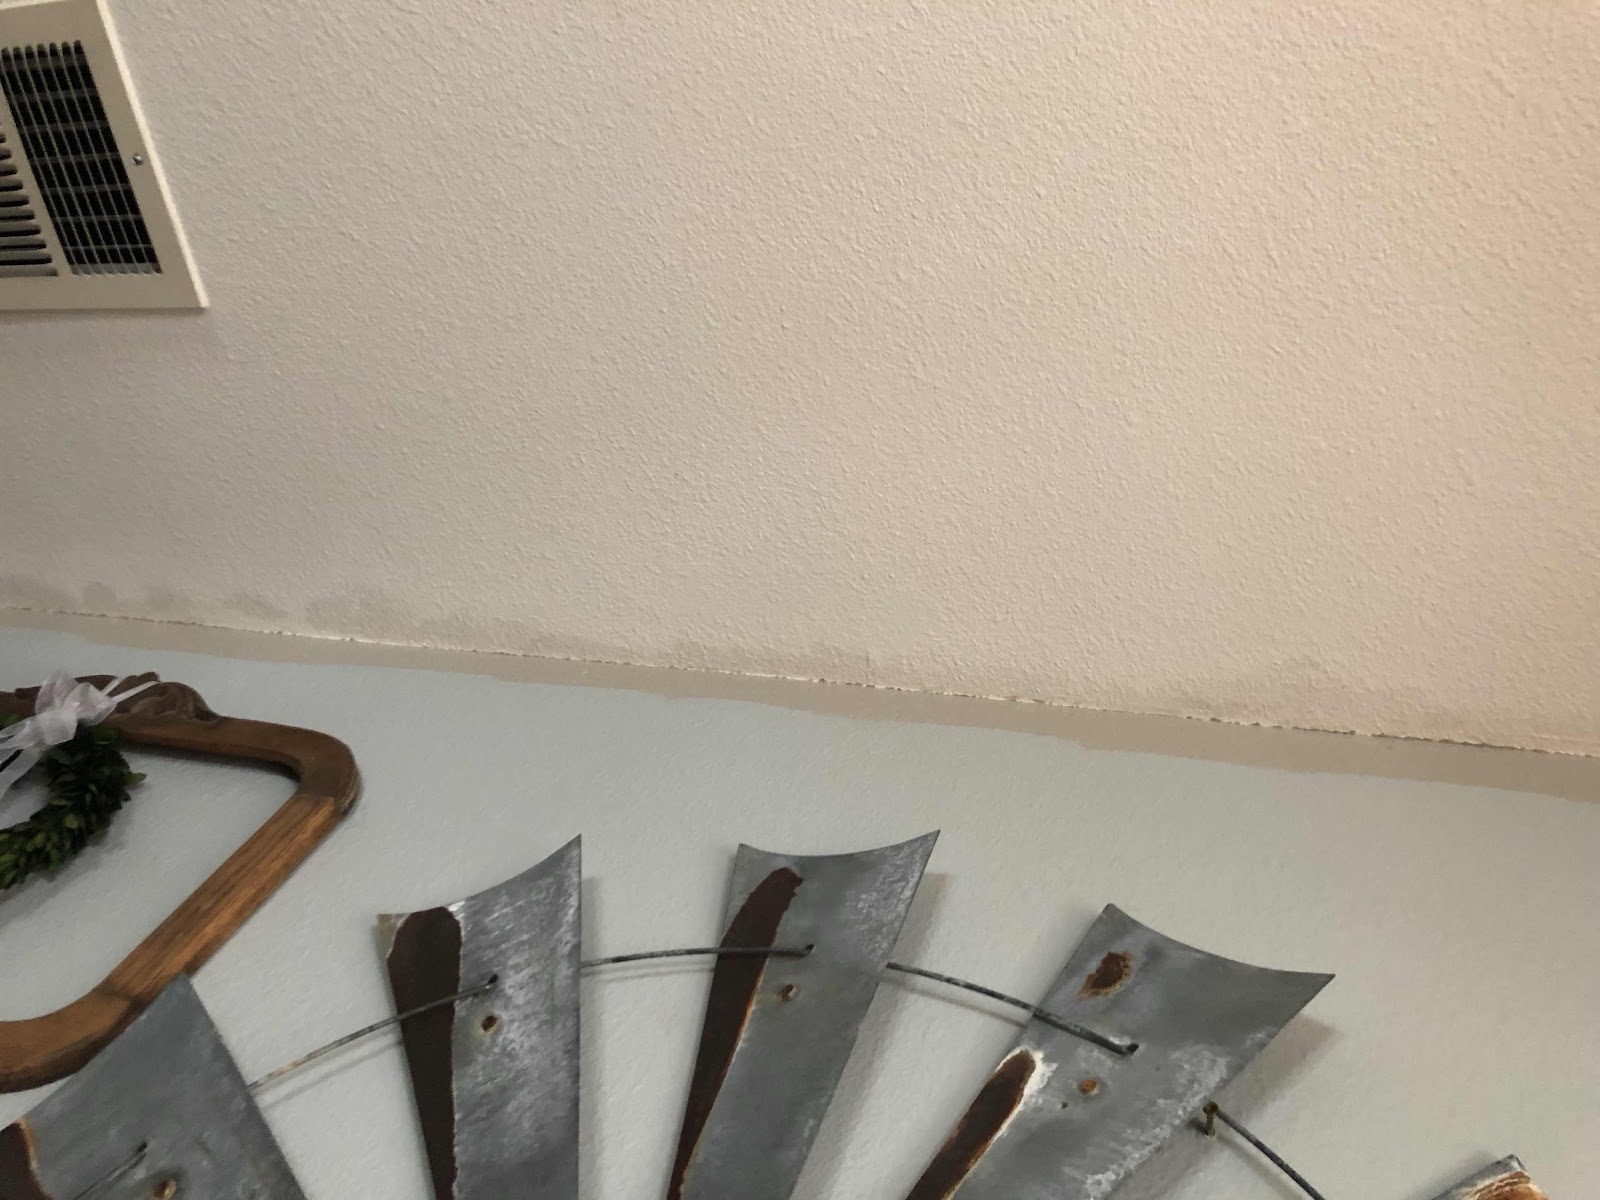
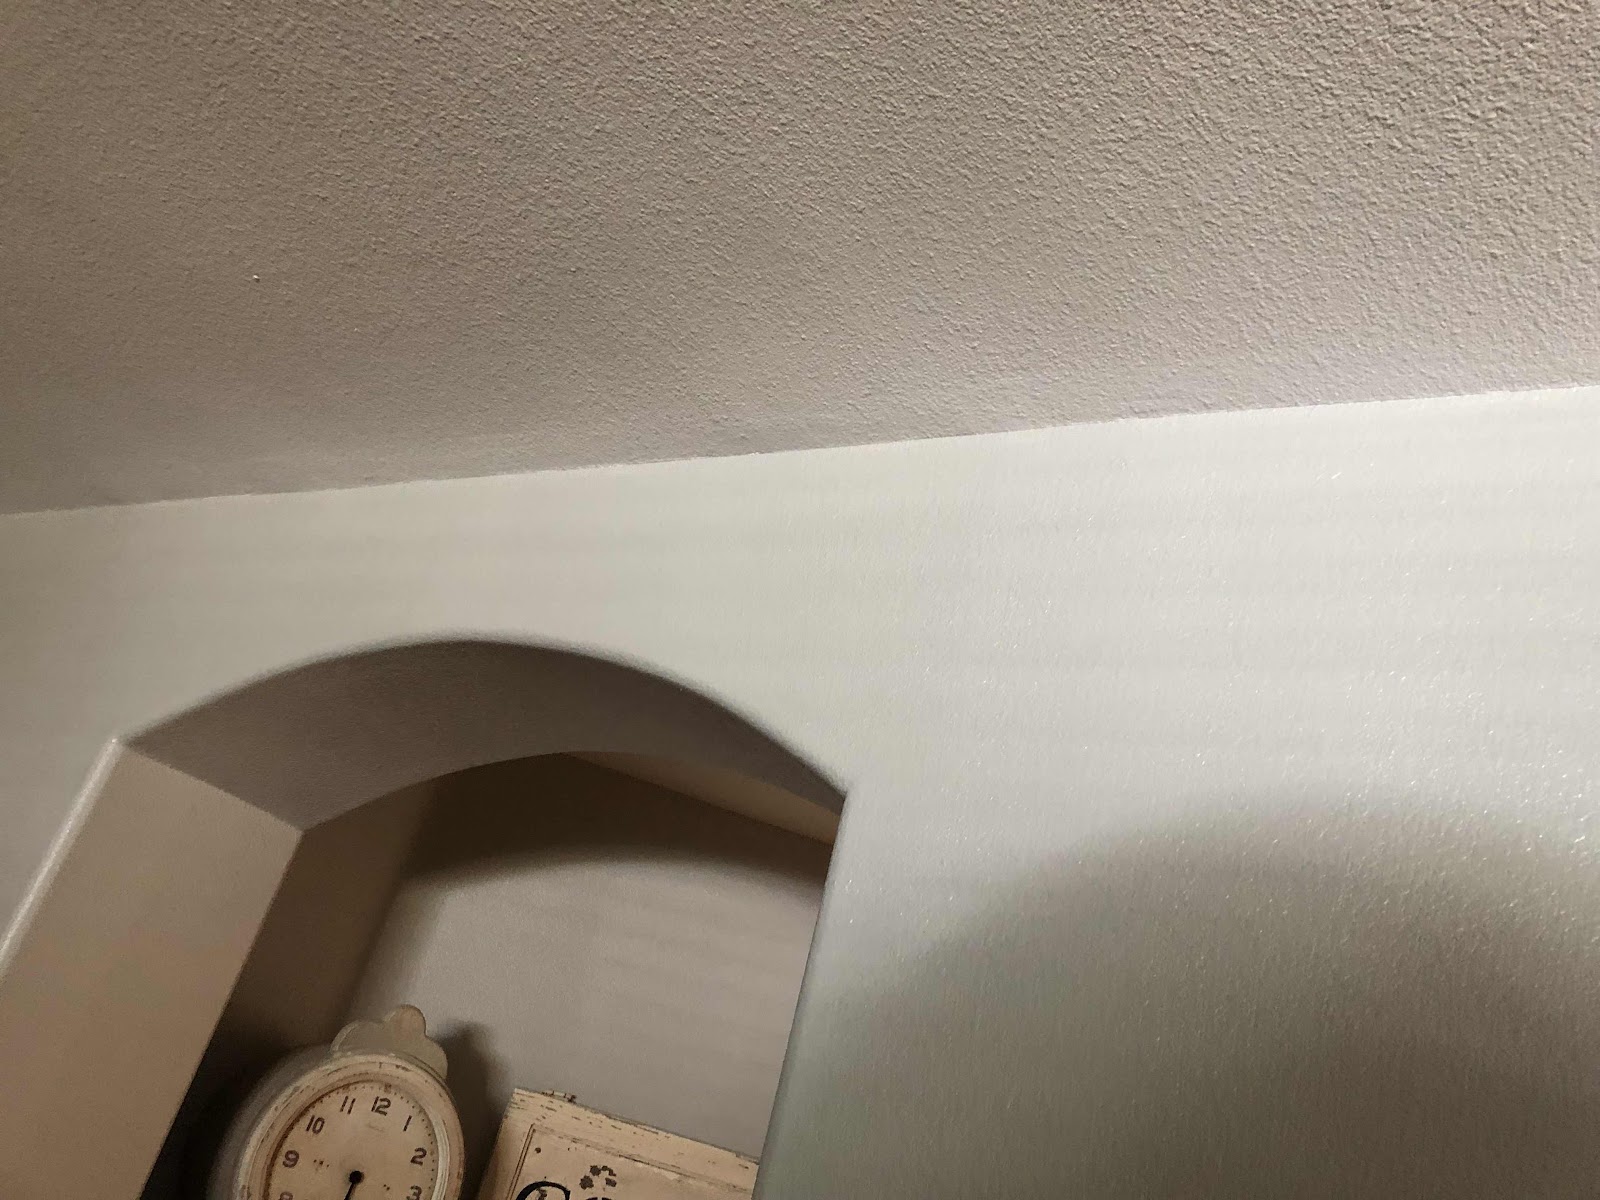
When we first saw our house at an open house we noticed downstairs the ceiling by all the walls was funky! We weren't sure what was up. After moving in, I realized that someone was trying to cover up paint that they smudged the ceiling with and they used first the wrong white, and second the wrong sheen! I got some flat ceiling paint and painted all along the ceilings where it met a wall and it worked like a charm! I still had to cut in the new wall paint from months and months ago so now it’s all done and looks pretty great! It’s funny how when there 4-6 inches not painted at the top of the wall, how it looks so much taller when it’s cut in! 

Some weird befores...


After painting ceiling and cutting in the wall paint...


Wednesday, May 8, 2019

Mom’s room gets a beautification!

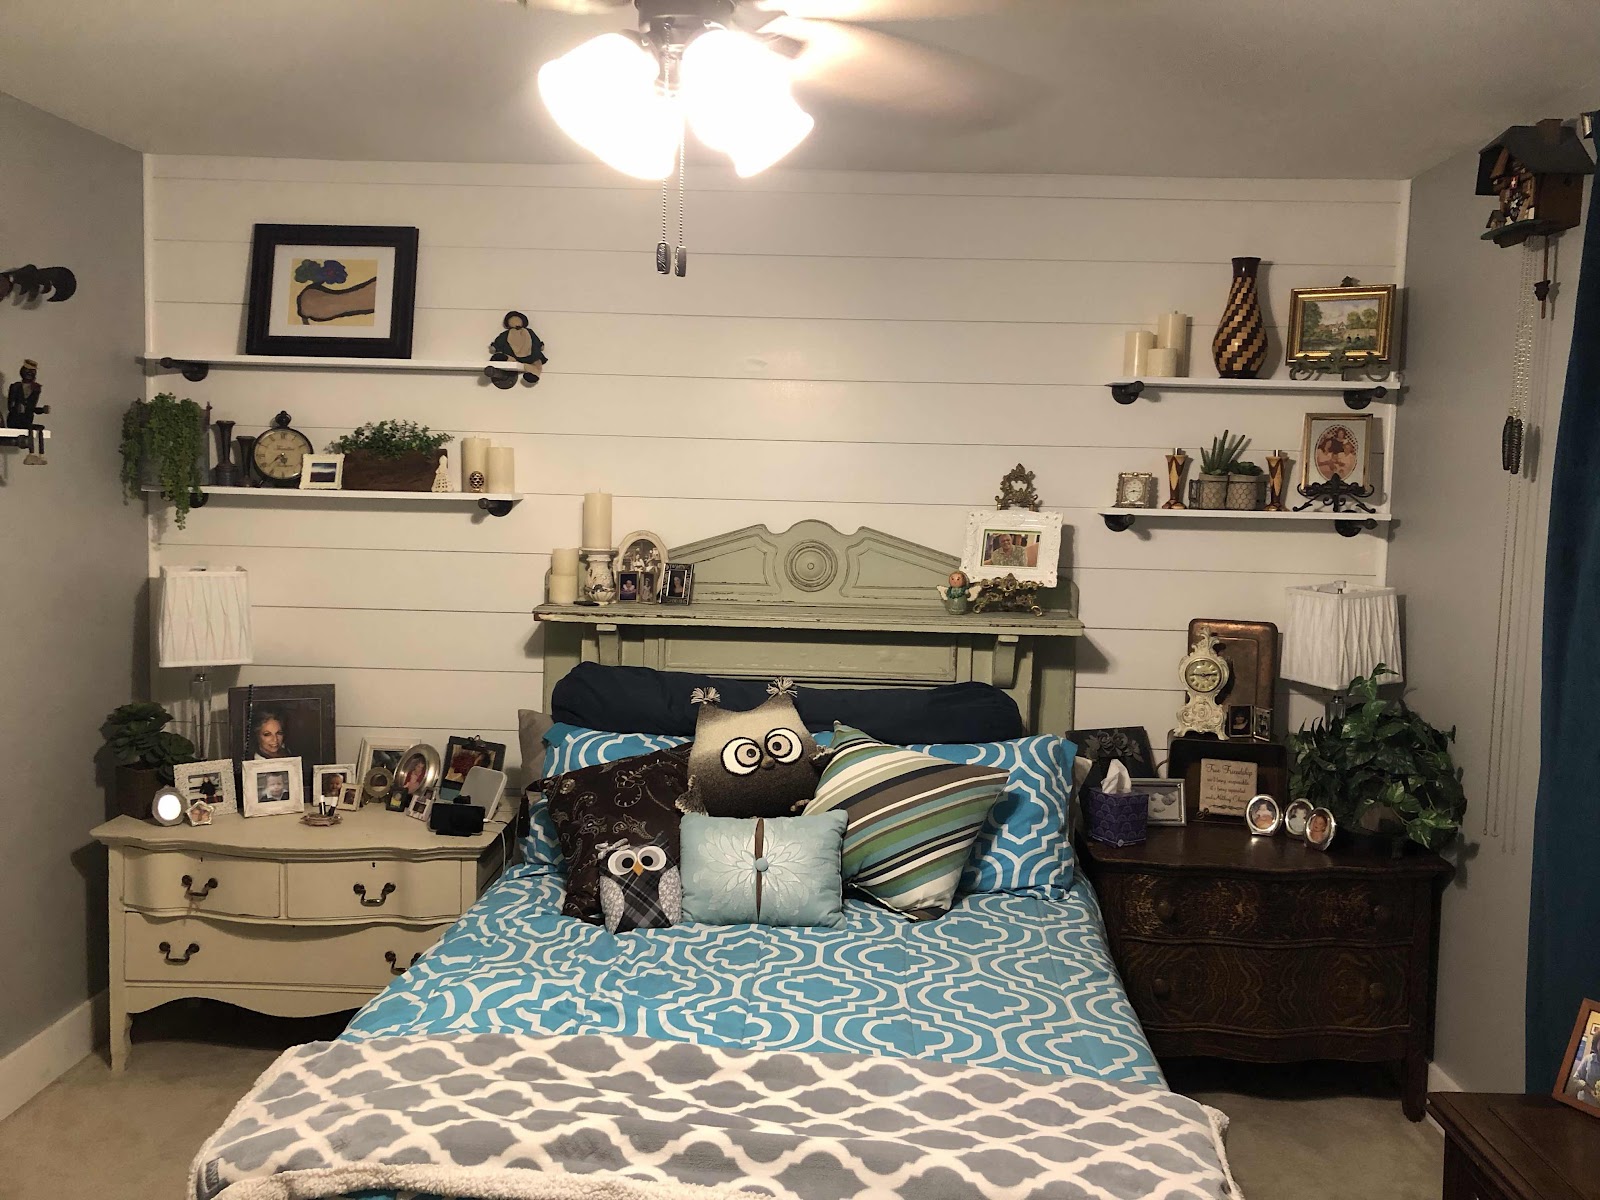
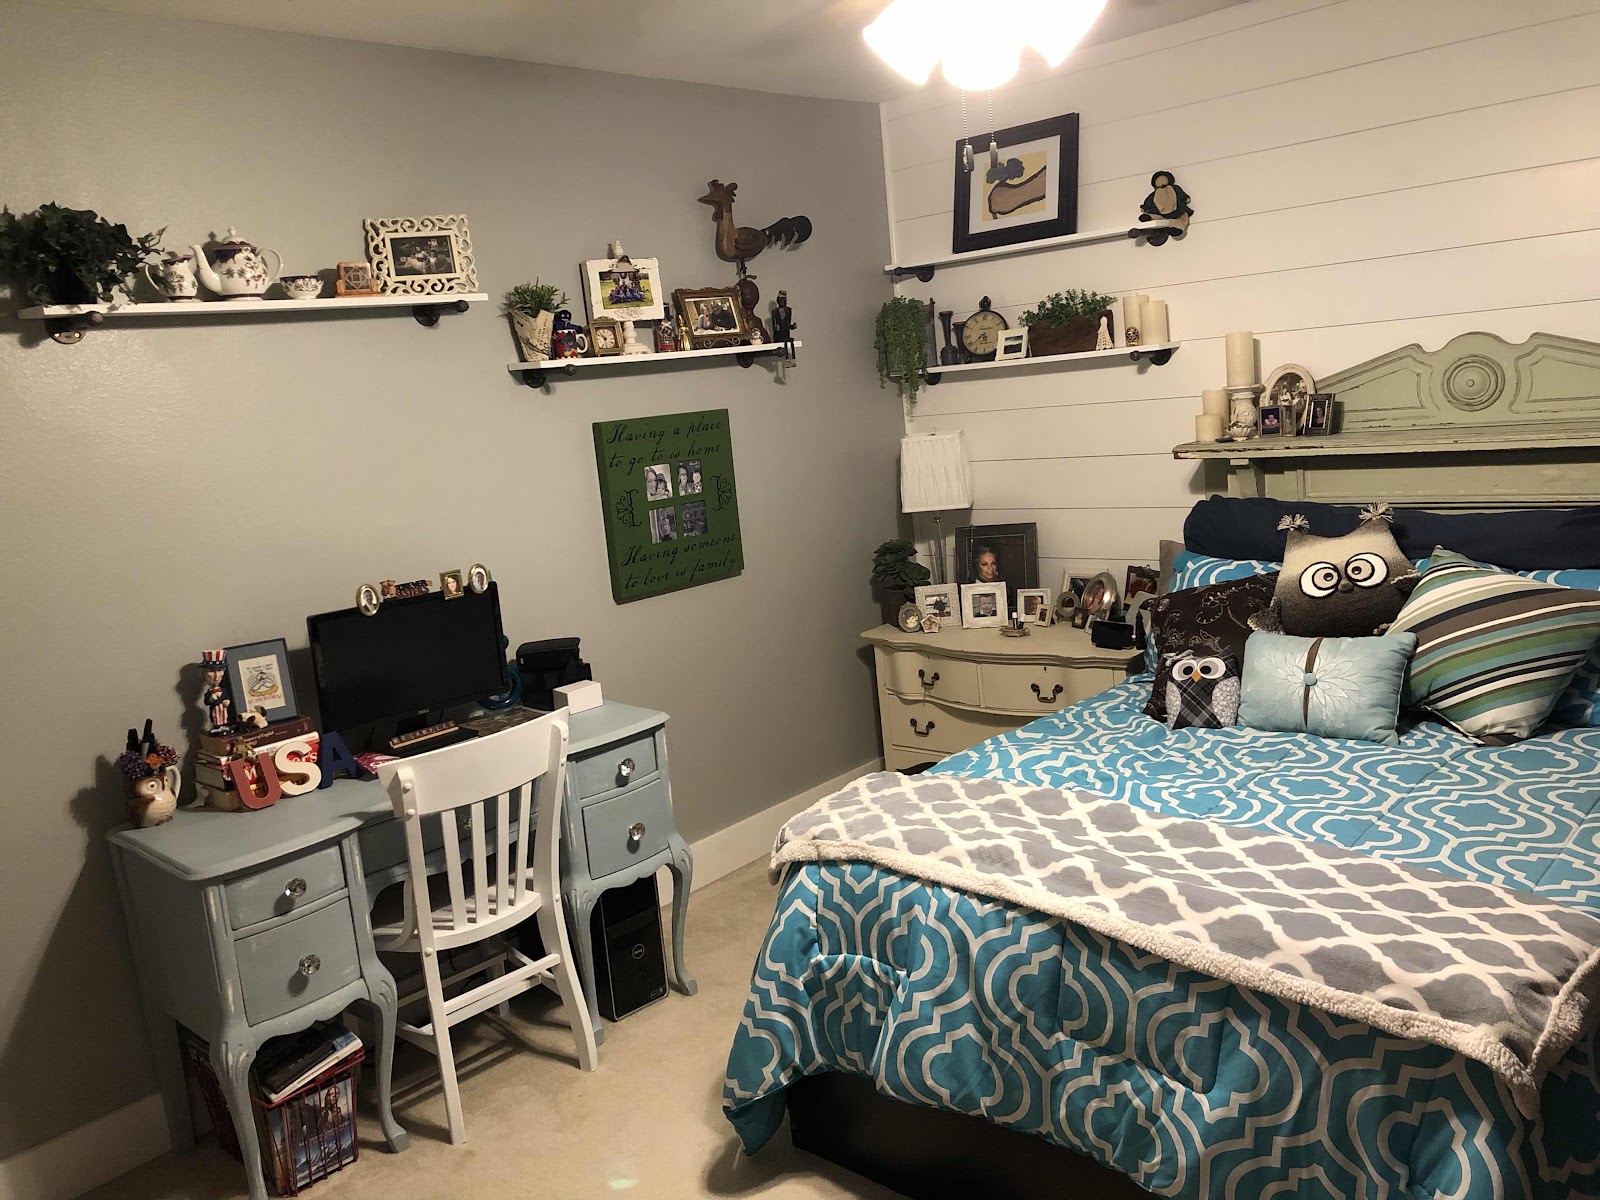
I have been meaning to give my mom a shiplap accent wall in her room since we moved it! I finally got it done a couple weeks ago and am only now posting it. I also gave her some super cute shelving to display all her many pictures and family things. 

Before 


After


Wednesday, May 1, 2019

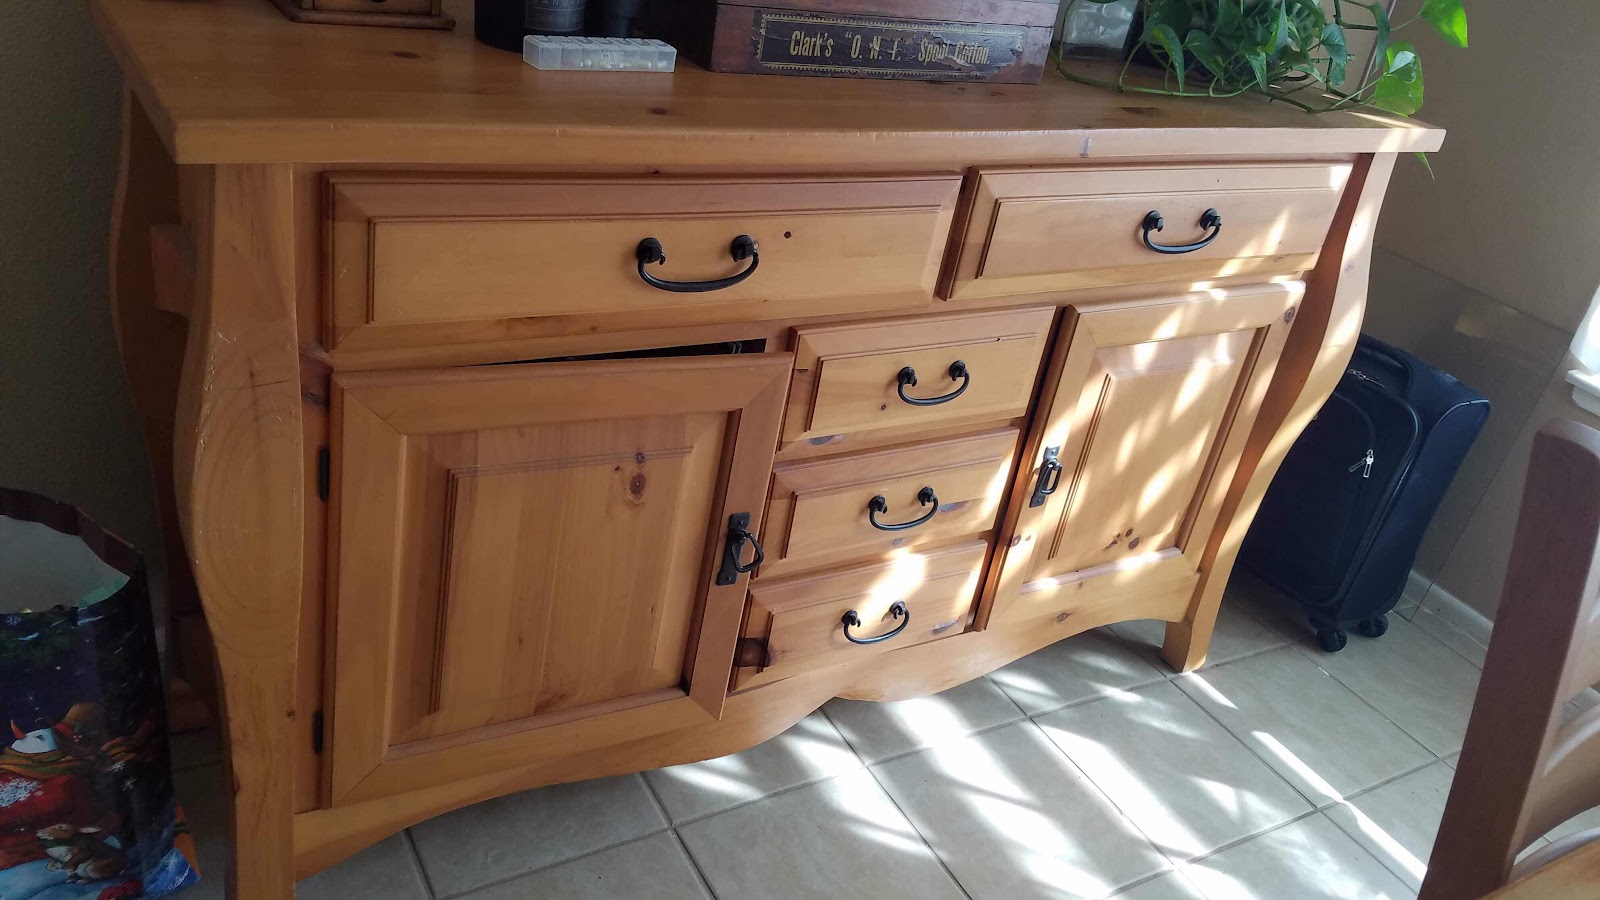
From orange to gorge(ous)

A sweet lady asked me to turn this into a wine buffet and here’s the beautiful transformation!

Before...


After...


Wednesday, April 10, 2019

Farmhouse Table

We have been through 3 tables in the last couple years because I’ve been looking for that perfect farm table for our large family. I finally found one for a steal! It was a little shaky so I decided to add supports and even more Farmhouse style to it! 

Here’s the before and during...


It had a leaf, but we decided we will always keep it this size so it’s permanent now and so sturdy it’s crazy!! 

I added wood to the top so the leaf is forever hidden and stained it! 
This thing is now over 7 feet of pure farmhouse gorgeousness! 


Tuesday, April 9, 2019

Bookcase built in reveal!

Ok it’s all painted and decorated! Many items on display are from family, which makes it extra special to us! We have items from both our moms and both dads, Jason’s Mama and Papa, and my grandparents.❤️

I love having a place safe from the little ones to display our family items! I also absolutely LOVE how the built in turned out!! It’s perfect in the space, adds storage, but doesn’t eat into the bed and nightstand area! 

Here she is in all her glory...


Monday, April 8, 2019

Gorgeous Master Bookcases!


This is one of my favorite projects I’ve done in our new home so far! Our master has this wall with a large niche that was nice, but it was lacking something. I had two dressers there for a while, but I never used them and I just wanted something with storage, but that gave me a bunch of space for decorating! I thought why not add bookcases with storage. Similar projects are on Pinterest, but here’s my version!

Once I got all the materials, it went up pretty quick. Painting was the time consuming part! I could have sprayed the cabinets and shelves before I installed them, but I got impatient and wanted to start!

Here’s what I first did with the two dressers...


I first removed the baseboard in the back so I could reuse it somewhere else in the house that I still haven’t finished baseboard since this would be covered and waisted anyway. I then put 2x4’s the with of the wall and depth of the cabinets so they would sit on top. I found the studs before hand and made sure they were level, then started screwing into the studs and making it snug and secure. I got upper cabinets from home improvement store because I didn't want a deep base cabinet. These are only 12” deep. 

Progress...


I like to sneak cute love messages into my projects!


I figured out the spacing between walls and the three cabinets. I used two 30” wide and one 36” wide cabinets to best fit...


Then I added the trim in between and the top to start filling the gaps. I use my trusty Dewalt battery powered nailer! 


I found 3 matching bookcases for $10 a piece so I picked those up and just had to cut them down. I took off the cheap backing because I wanted to add shiplap!  


I left 1.5” between the ceiling and the top of the bookcase to fit the 2x4 to secure it all. Also to save on cost, I just cut shorter shiplap where the backs of the bookcases were, that way I didn’t have to buy more 9’ pieces that would be covered up anyway. 


Ok so I got to this point and I was so excited to paint it the next morning that I couldn’t sleep and started thinking how cool it would be to add lightning...


There’s an outlet behind the cabinets and there are wall sconces that are plug in, so I found two I liked (that had the on switch not on the cord, but the base of sconce) and undid the wiring in the back of the sconce to reroute the cord to the back of it vs coming out the bottom so the cord would all be hidden.


I drilled holes through the trim, top and back of the cabinet to run an extension cord. I can access the outlet by opening one of the cabinets now. 


I love having those cute lights!


Stay tuned for the final painted and decorated reveal!!! Coming VERY soon!! 😍

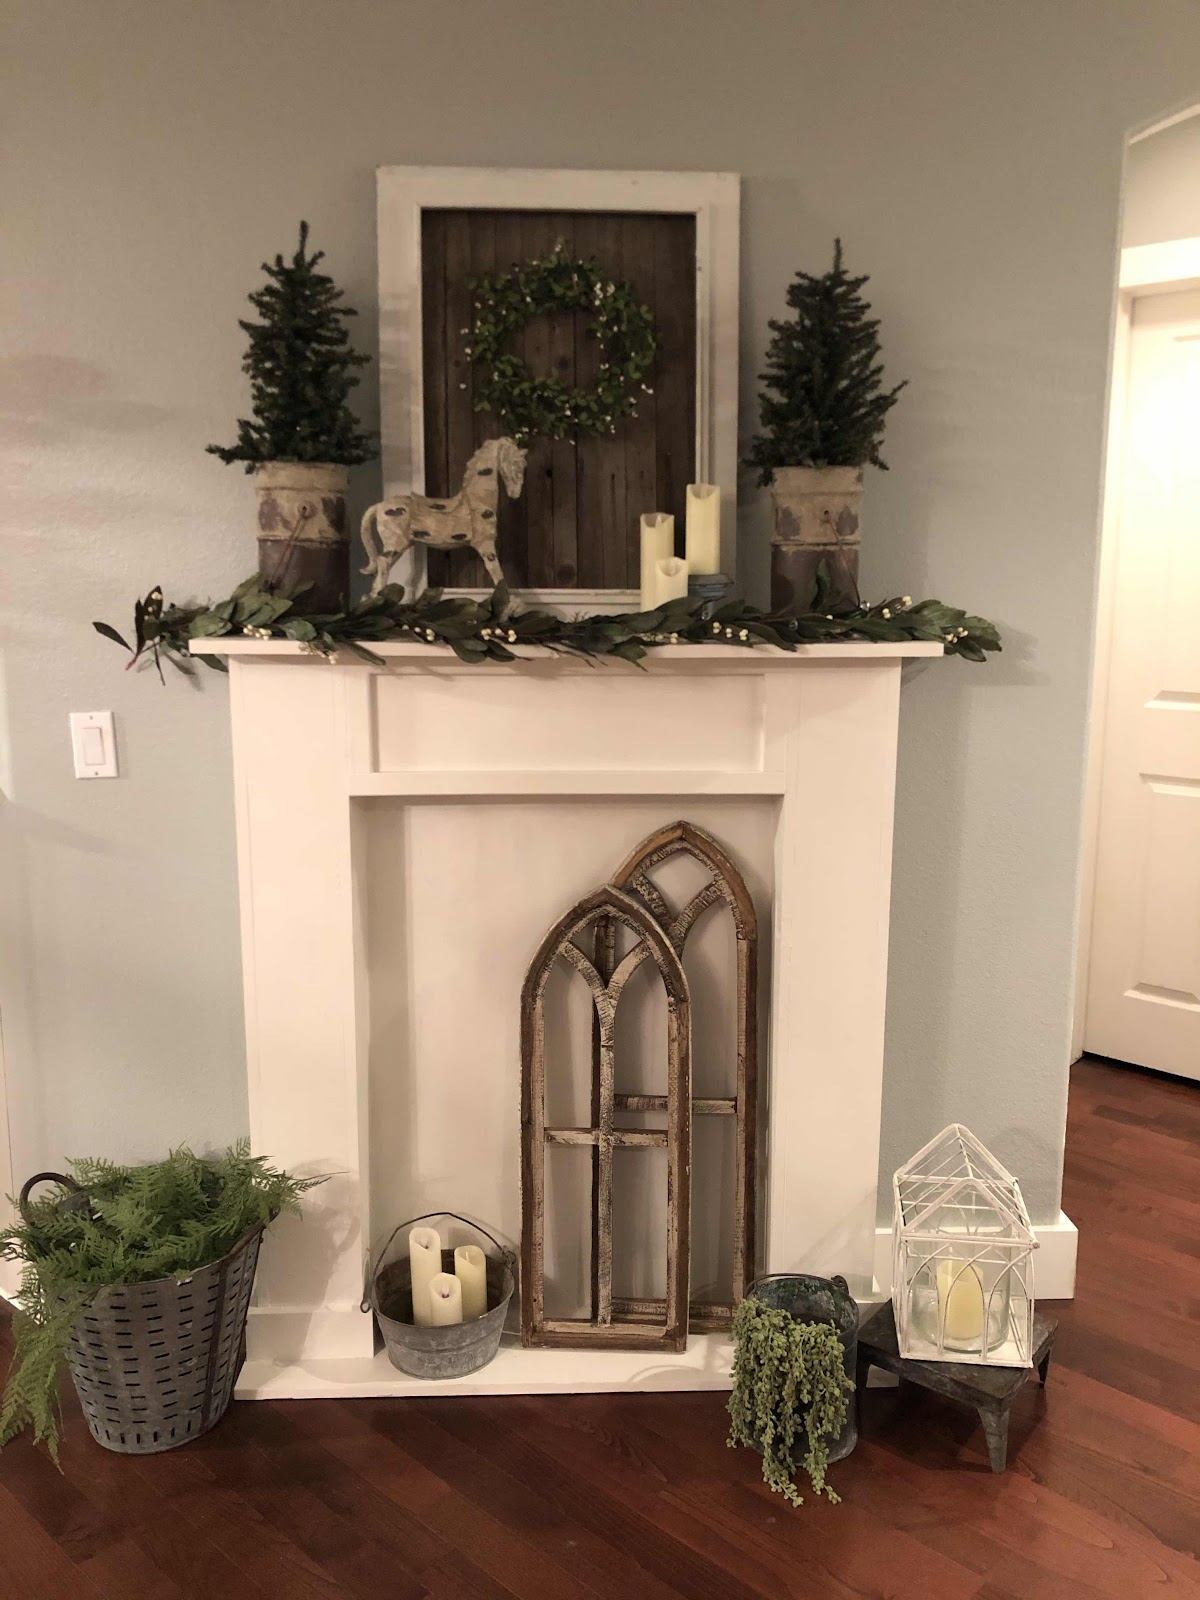
Gorgeous Faux Fireplace

I made this faux fireplace for a photo backdrop prop and now it’s for sale! It was very fun to make and decorate and now it can be yours! 🙌...